
by Jessica Nebeker:
I’ve been building puppets for more than a decade, but only recently (with support from the JUMP Make Studio) have I entered the world of 3D printing. My first prints looked promising, but cracks appeared under the stress of movement. I began rethinking each part of the process: design, material, and print settings.This became essential while building large, human-sized puppets operated in the Bunraku style for our upcoming show, THIS MAD RIVER. The joints need to move naturally without overextending or twisting, while withstanding rehearsals and performances. Because the joints will eventually be covered, strength and function are more important than their finished appearance.
Here are three things I learned while developing strong, lightweight puppet joints.
1. Design for Strength and Motion
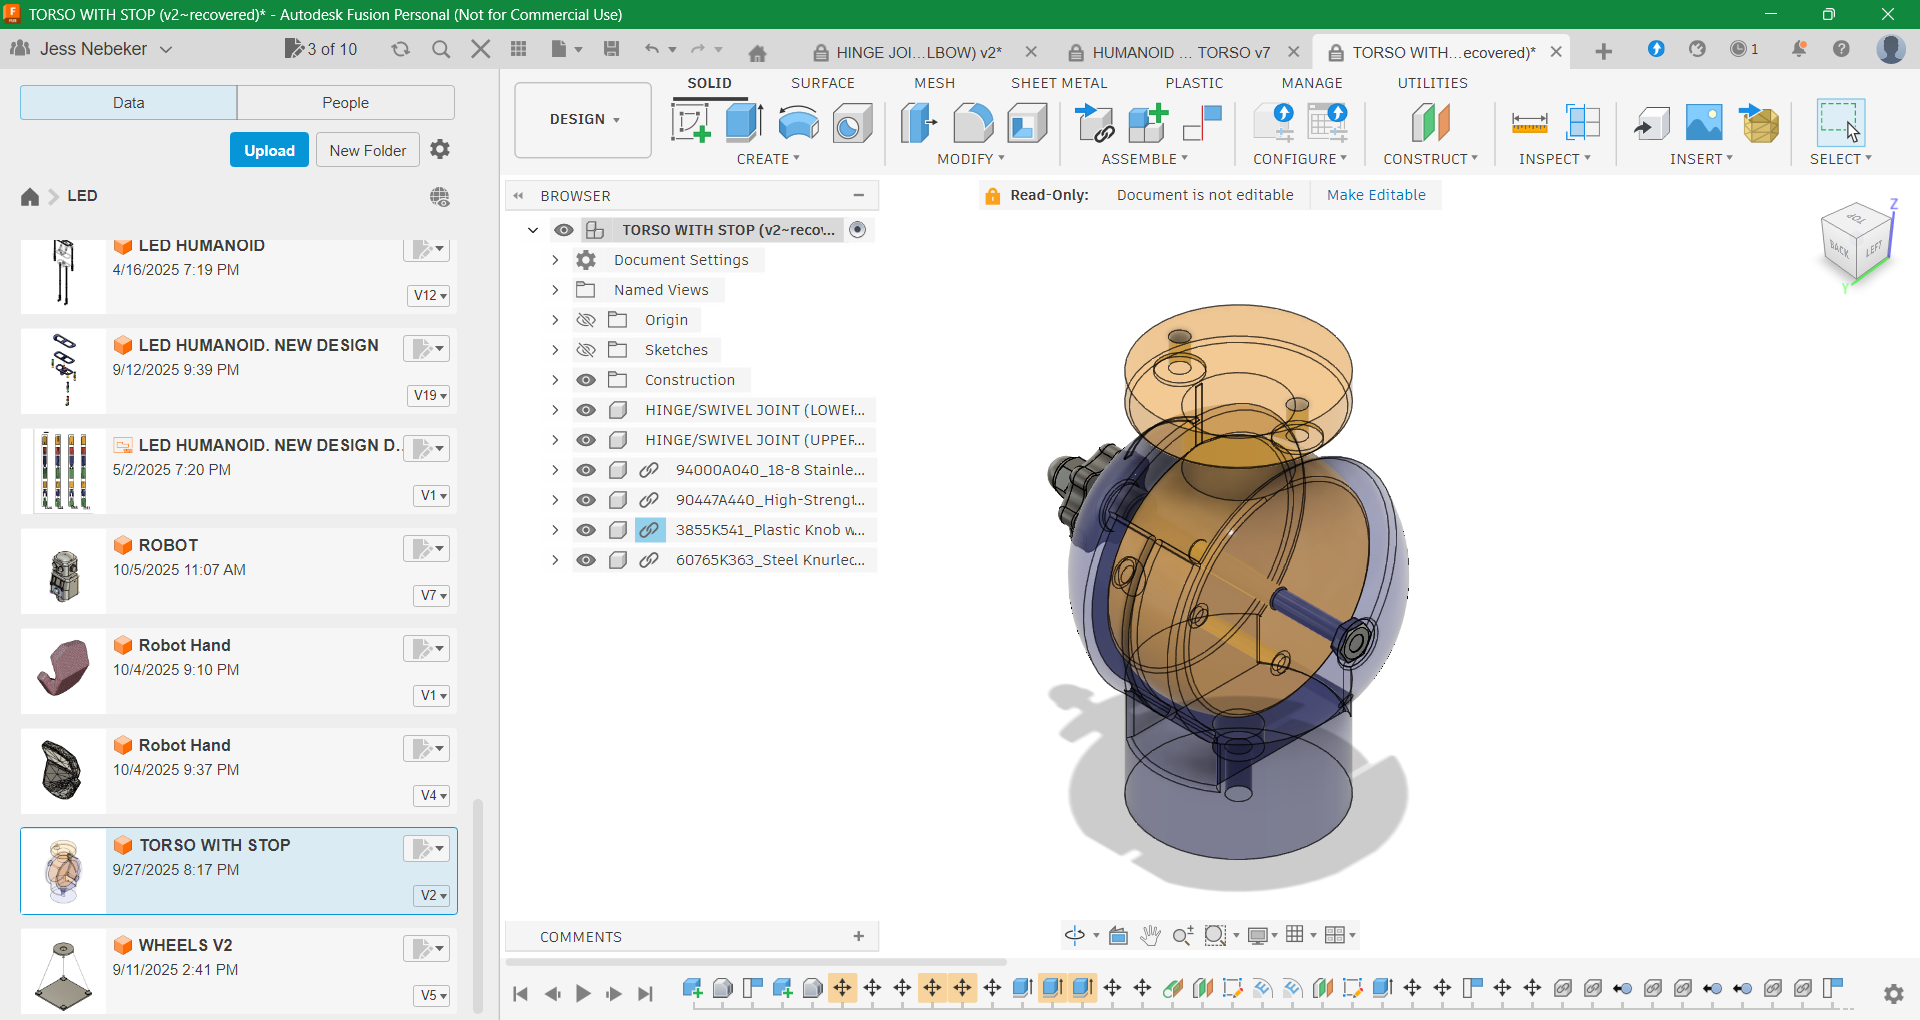
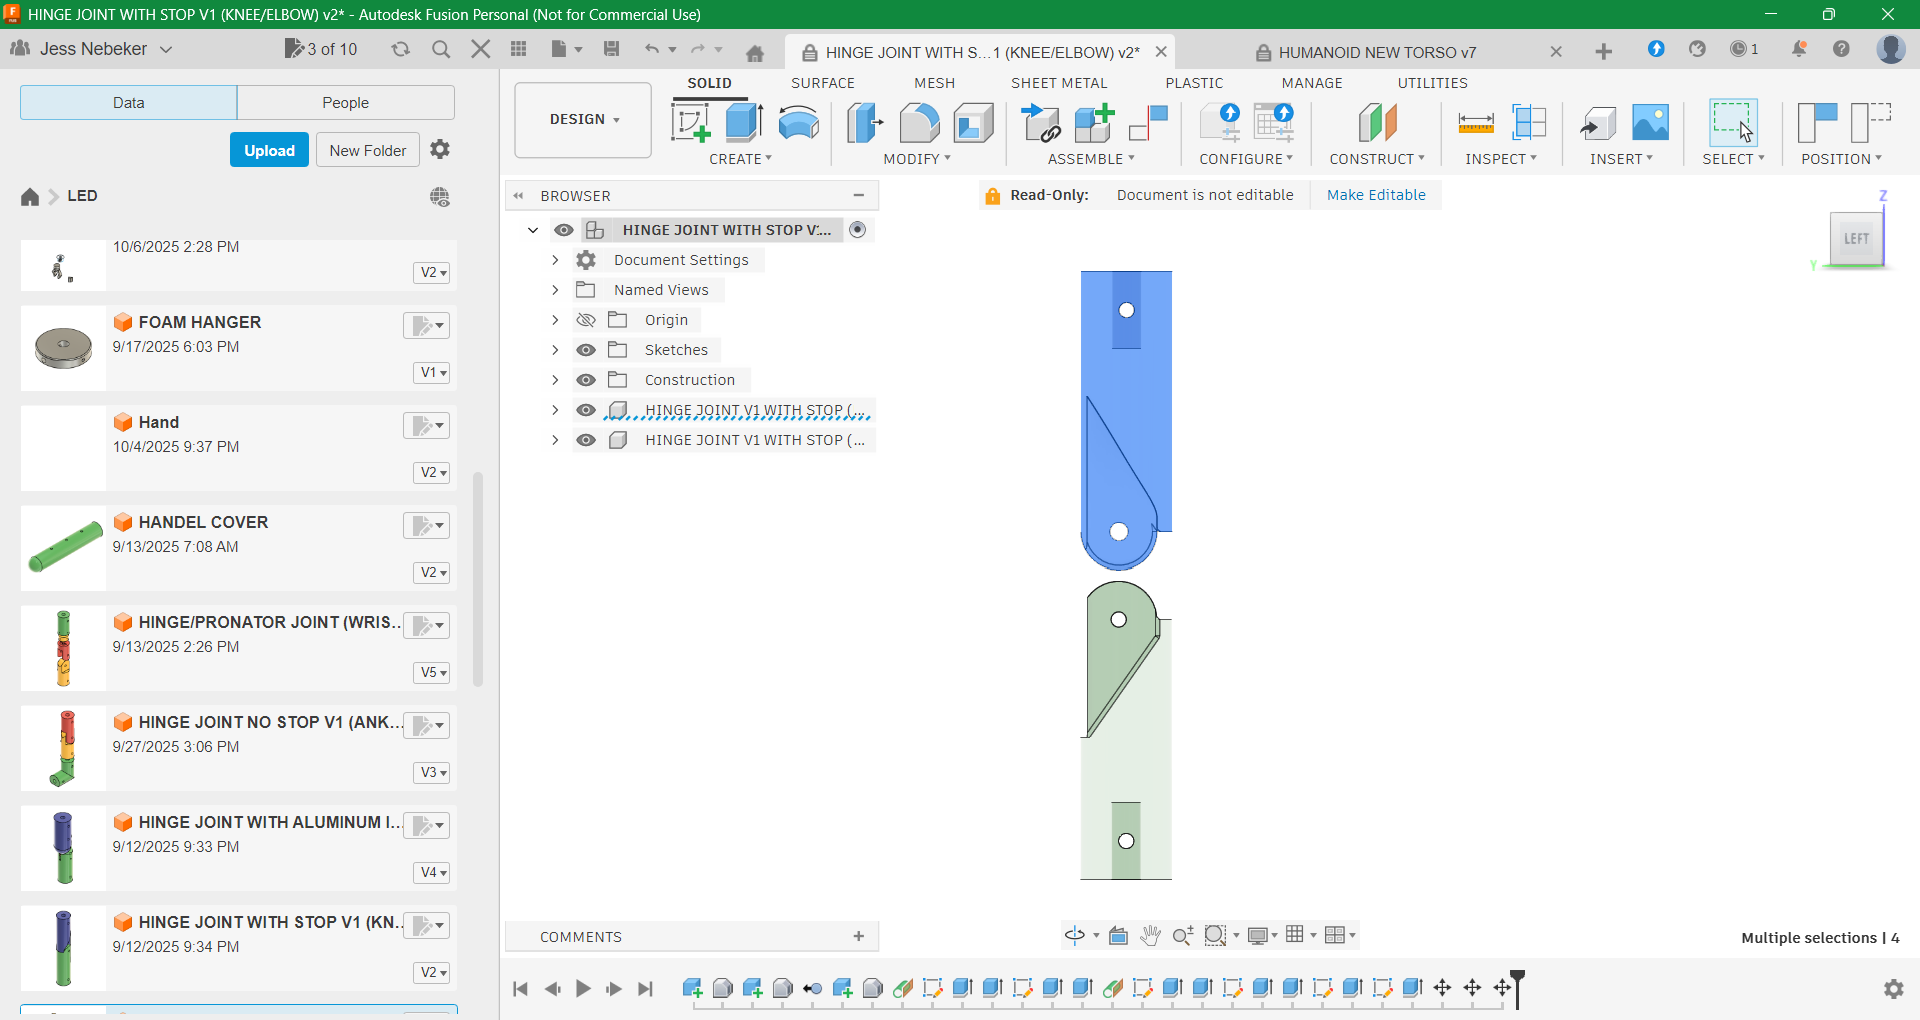
I design my parts using the free version of Autodesk Fusion 360. As someone new to CAD, I’ve found it approachable while still offering the tools I need. Here are a couple things I learned as I learned that sharp corners create weak points where cracks can form. I added fillets (small curves that replace sharp angles) to help distribute the stress. I particularly used fillets where the hinges meets its housing. These small changes can dramatically improve a joint’s strength.
2. Choose the Right Filament
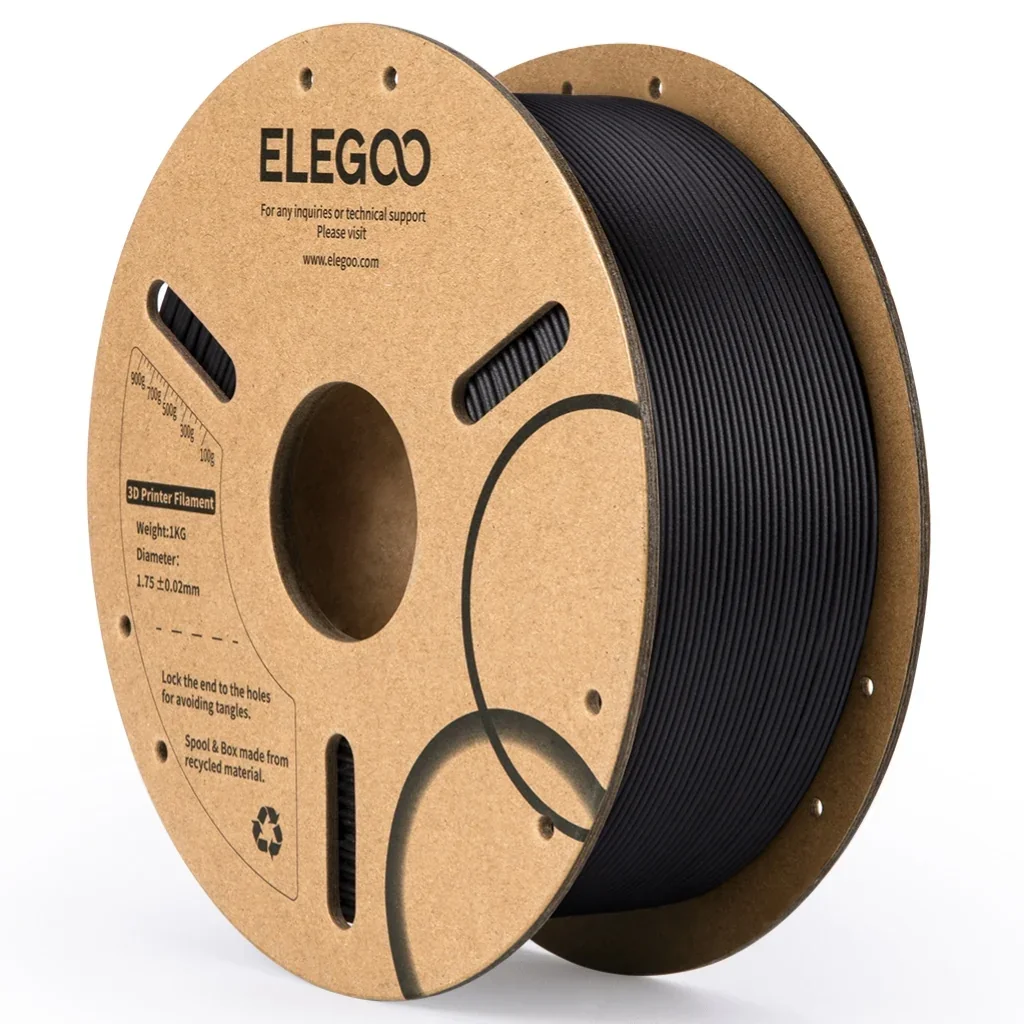
Carbon Fiber PLA
After testing several materials, I landed on carbon fiber PLA. It combines two qualities that are especially important in puppetry: strength and lightness. Its stiffness keeps movement controlled, while its low weight makes these large puppets easier to manipulate. Carbon fiber filament is abrasive and can put excessive wear on the nozzle. Kyle, MAKE extraordinaire, and I watched for this and ordered a hardened steel nozzle, but did not end up needing to replace it.
3. Optimize Your Print Settings
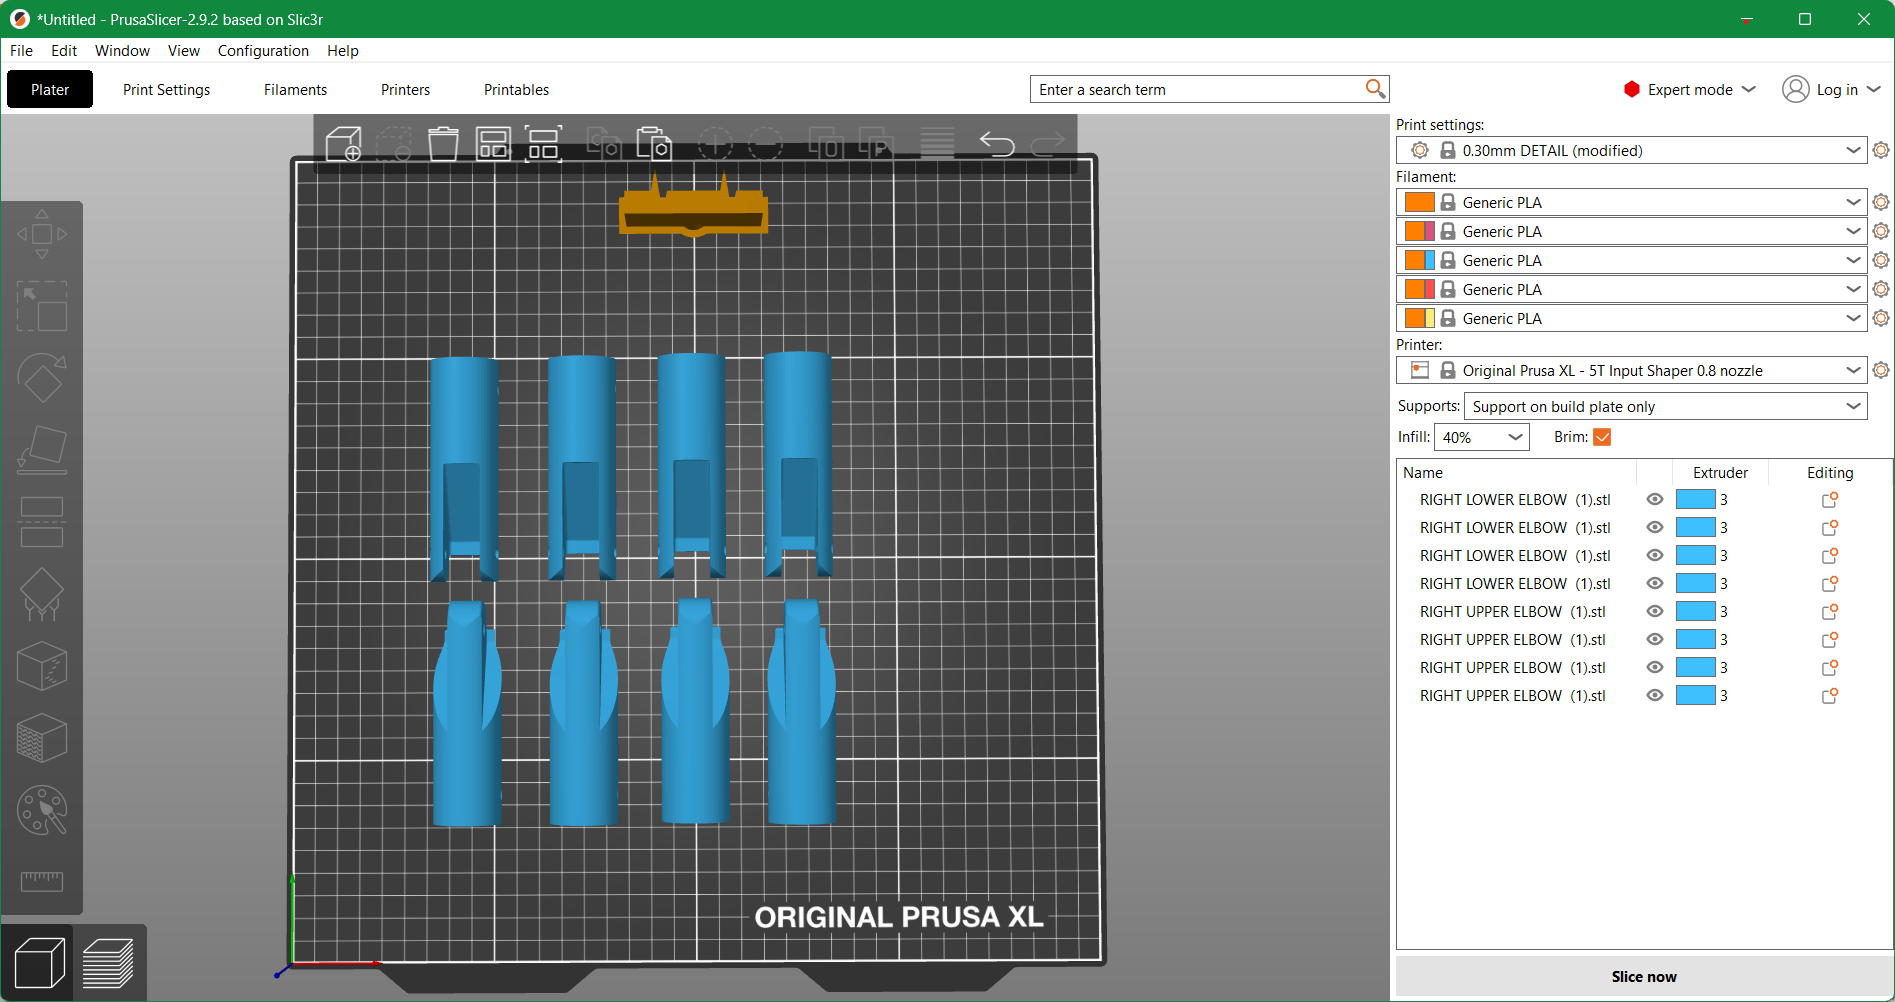

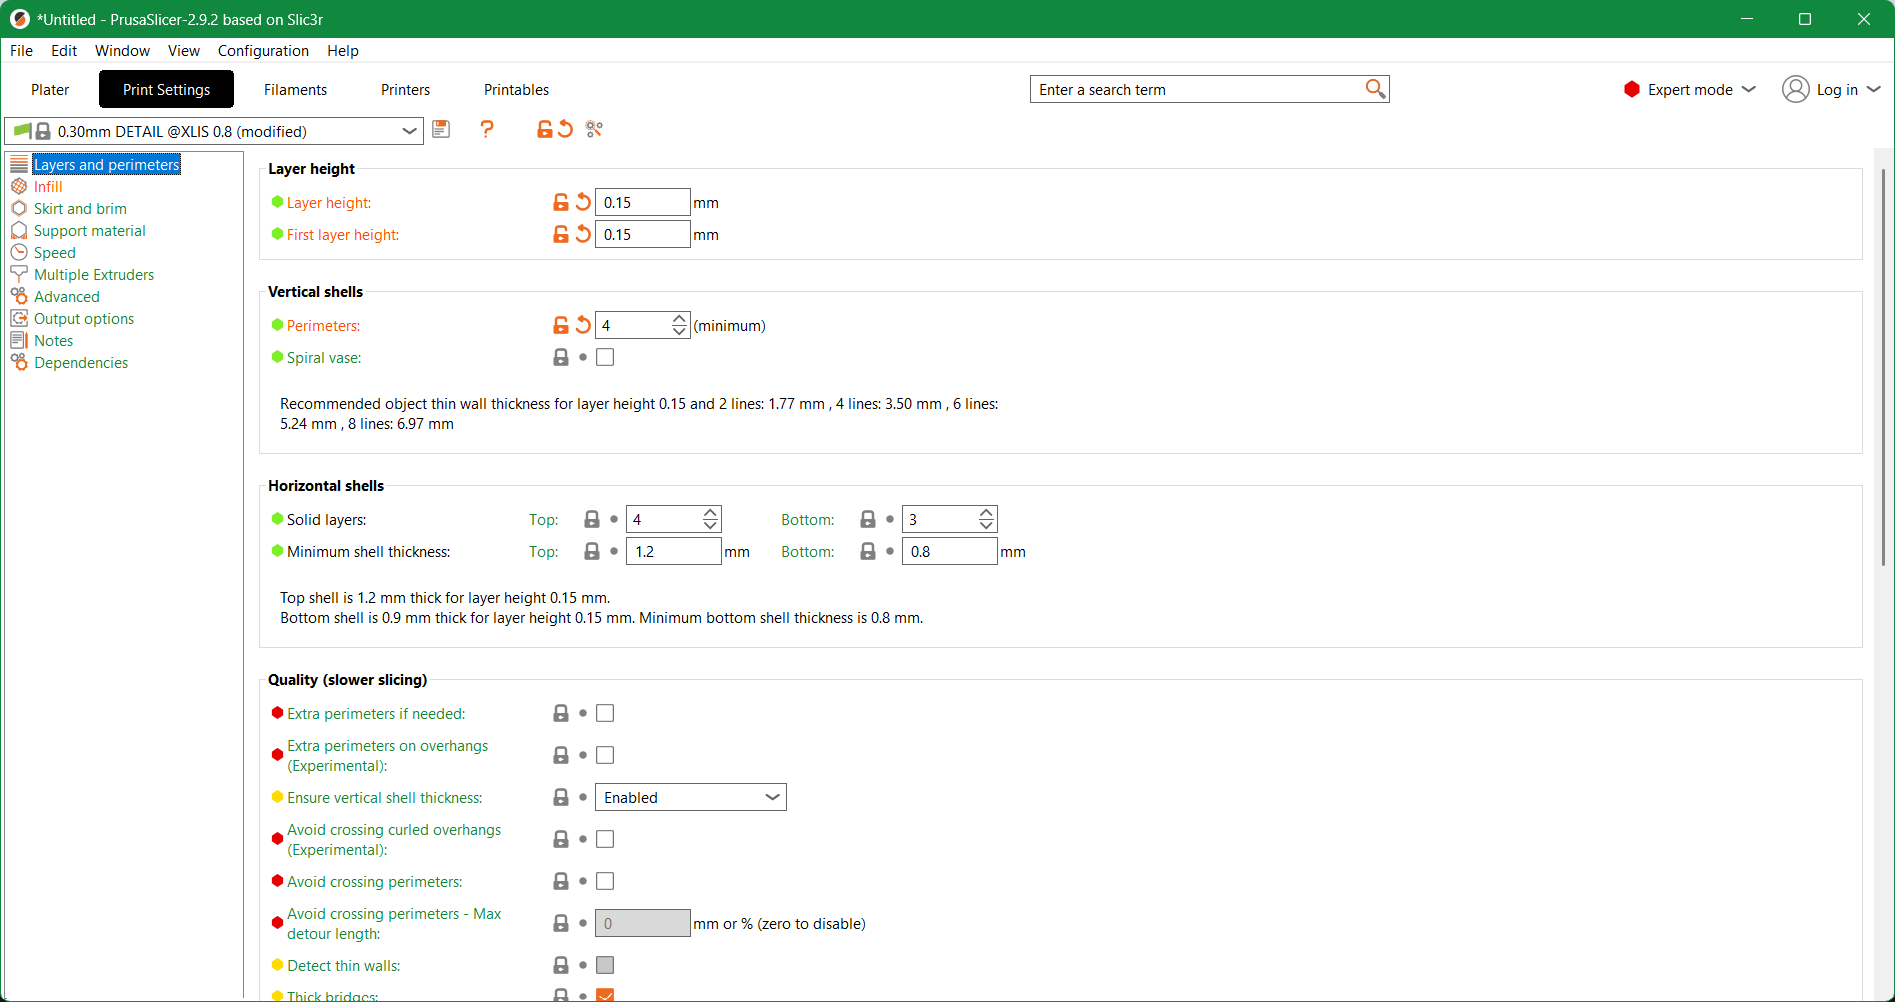
A strong design can still fail if printed poorly. These PrusaSlicer settings have worked well for my joints:
Perimeters: At least four.
Infill: Between 40% and 60% using gyroid or grid.
Layer height: Between 0.15 and 0.2 mm.
Orientation: Position the part so its layer lines work with the direction of force.
Orientation has made the greatest difference in preventing breakage. Consider how the joint will be pulled, bent, and twisted before printing.
Engineering the Art of Motion
Puppetry has always blended art and mechanics. 3D printing doesn’t replace that craftsmanship. It gives us another way to support it. Building the puppets THIS MAD RIVER has reinforced how much a puppet’s mechanics shape its performance. These joints must carry the weight of large puppets while allowing them to move with precision and expression.Thoughtful design, lightweight materials, and careful print settings can create joints strong enough to withstand repeated performances while remaining expressive enough to bring a puppet to life.
