
Making 3D Puppets for Film

By : Jessica Nebeker
As a puppet builder the idea of 3D printing has been both alluring and elusive. 3D printing offers builders the ability to design highly precise and functional parts that can be edited, replicated and scaled with ease. However, access to high quality printers can be limited and cost prohibitive. First generation printers, while more affordable, lack the speed, durability, and filament option that new printers provide. While I have always been interested in 3D printing the limitations made it impractical.
The Studio Community Project application at the Jump Make Studio has changed that and opened up a world of possibilities.
In August I applied for a Studio Community Project, and after meeting with Dan, Kyle and Maggie I was off to the races. Access to the make shop was a huge game changer, but I still had a giant learning curve ahead of me. Thankfully both Dan and Kyle were there to help guide me.


The first step was designing something to print. In designing any puppet I first consider what is the puppets’ function, how it will move, and how the movement will inform the character. I start with a sketch and then a technical drawing. In designing for 3D printing I didn’t want to compromise character design for functionality. This required the use of both a CAD program and a 3D sculpting program. For the technical drawing and precision parts I used the free version of Autodesk Fusion 360 for non-professionals. To give the head and hands a more organic shape and artistic detail I used a 3D Sculpting Program, Nomad Sculpt. After sculpting the head and hands in Nomad I was able to import them to Fusion 360, scale the mesh for printing and make precision cutouts as needed.
The next step is determining what type of filament to print with. I was excited by the prospect of using a wood based PLA filament. This filament has real wood fibers combined with PLA and offers the ease and printability of standard PLA with some of the esthetics of wood. I chose the 1.75mm ELEGOO wood PLA Filament.


After designing and choosing the filament, Kyle helped me prepare to print on Jumps PUSA Original Xl printer. I was so excited and lucky to get to use this machine. I downloaded the slicer onto my lap top, and Kyle gave me a tutorial on placing the prints on the print bed, selecting the correct settings, and exporting the g-code.
READY, SET, PRINT! All that was left to do was hit the print button. Printing was smooth and easy. The wood fiber PLA printed very nicely. I was amazed at how fast and efficient the printer was. The final parts were lovely, print lines were minimal, and each part required only minor clean up of supports and light sanding. In total I printed four puppet bodies and 5 puppet heads over approximately one week. I really put the printer through its paces printing back to back parts. I had two failed prints that were likely both user error from part placement on the print bed, and tangled filament. Overall I was thrilled with the results.


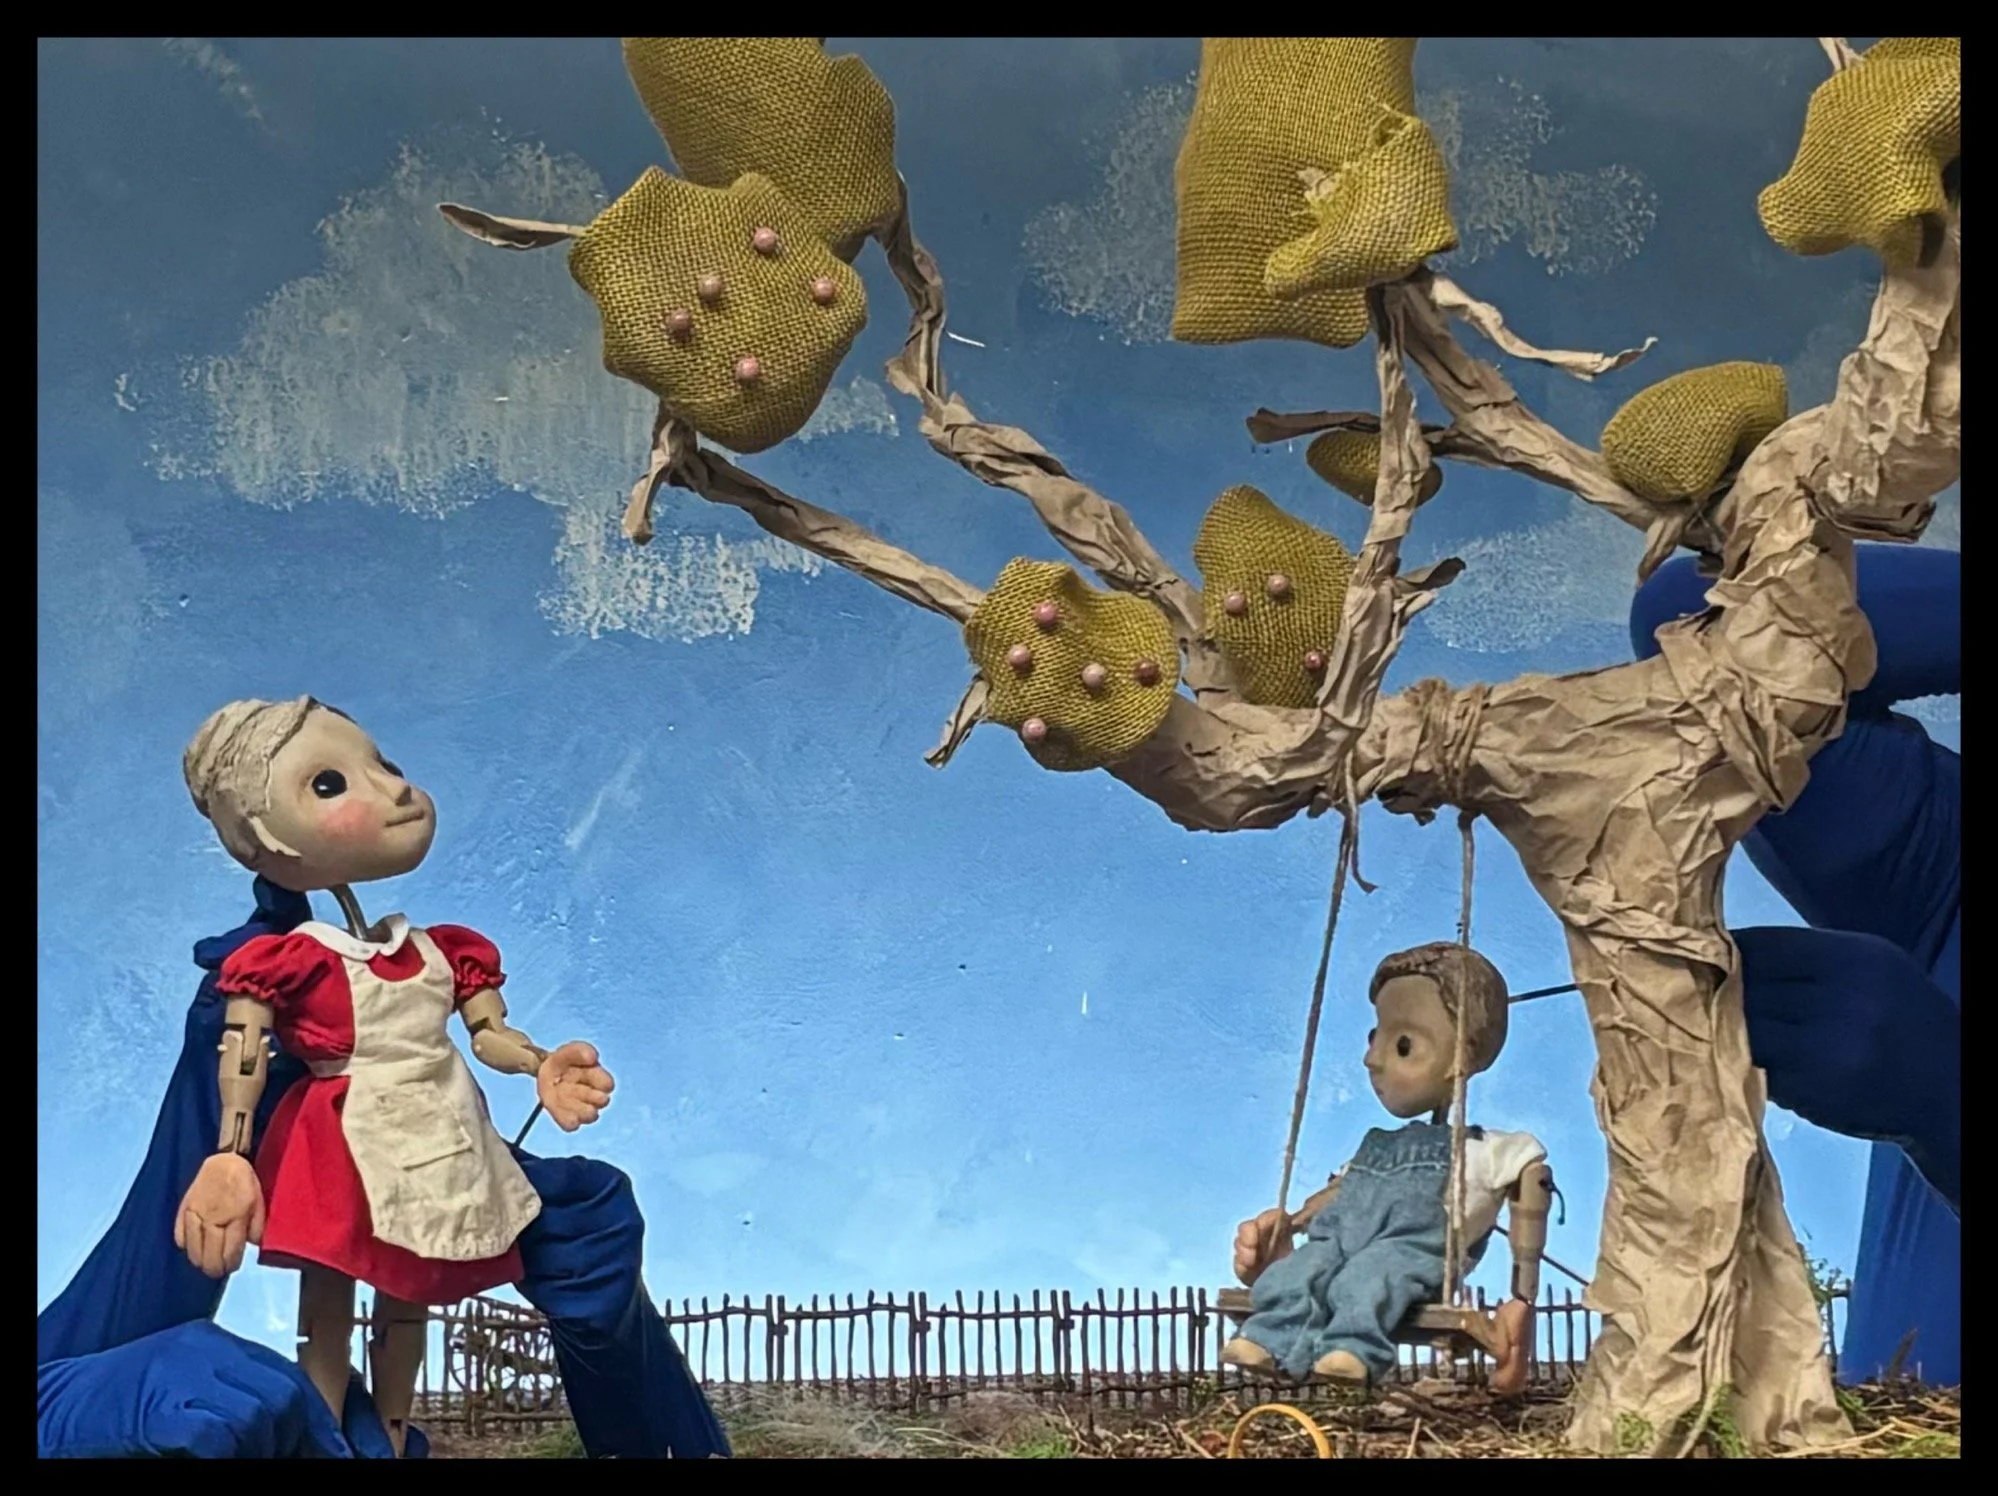
The design made the final assembly very simple, joints were simply held together with a pressure fit ⅛” wooden dowel. A non-stretch string secured the torso, and a spring was placed for the neck. No glue was required in assembly which allows for parts to be changed and repositioned as needed. Hair was added with Apoxy Sculpt, and some final color was applied to eyes and face with acrylic paint for the eyes and colored pencils
I feel so fortunate for this opportunity and to be able to work in the Jump MAKE Studio. I am thrilled with the results and my mind is spinning with new possibilities.
LEARN MORE about Jess Nebeker and her amazing work!